Env Board: Lubancat-2io
这篇文章需要用到之前移植的uboot 和extlinux 的基础知识。
Get source 查看一下dts的内容:
❯ ls arch /arm64/boot/dts/rockchip/rk3568* | grep lubancat arch /arm64/boot/dts/rockchip/rk3568-lubancat-2.dts
主线是有lubancat-2的设备树的,这就很大的方便了我们,可以稍作修改设备树即可完美在2io上全适配。
内核config配置 ❯ ls arch /arm64/configs defconfig hardening.config virt.config
这里并没有rk3568 evb板子的配置文件,所以我们就先使用defconfig就好,遇到什么问题再解决什么问题。
❯ make ARCH=arm64 CROSS_COMPILE=aarch64-linux-gnu- defconfig ❯ make ARCH=arm64 CROSS_COMPILE=aarch64-linux-gnu- -j32 ❯ ls arch /arm64/boot/dts/rockchip/rk3568-lubancat-2.dtb arch /arm64/boot/dts/rockchip/rk3568-lubancat-2.dtb❯ ls arch /arm64/boot/Image arch /arm64/boot/Image
依据extlinux 的经验,有了内核和设备树之后,我们只需要extlinux.conf文件即可。
❯ mkdir -p extboot && cp arch /arm64/boot/dts/rockchip/rk3568-lubancat-2.dtb extboot && cp arch /arm64/boot/Image extboot/Image-master ❯ mkdir -p extboot/extlinux/extlinux.conf
在extboot/extlinux/extlinux.conf文件中写入如下内容:
label rockchip-master
    kernel /Image-master
    fdt /rk3568-lubancat-2.dtb
    append root=dev/mmcblk0p3 earlyprintk console=ttyFIQ0 console=tty1 consoleblank=0 loglevel=7 rootwait rw rootfstype=ext4 cgroup_enable=cpuset cgroup_memory=1 cgroup_enable=memory swapaccount=1 switolb=1 coherent_pool=1m
其中append的bootargs来自于lubancat的extlinux.conf,创建好之后查看一下目录文件结构:
❯ tree extboot
.
├── extlinux
│   ├── extlinux.conf
├── Image-master
├── rk3568-lubancat-2.dtb

1 directory, 3 files
一切无误后,就可以生成boot分区的镜像了,注意,这个操作不要在extboot文件夹下操作,否则就会递归:
❯ genext2fs -b 32768 -B $((64 *1024 *1024 /32768 )) -d ./extboot -i 8192 -U boot.img
刷写进入系统后查看到如下log:
... Found /extlinux/extlinux.conf Retrieving file: /extlinux/extlinux.conf 929 bytes read in 3 ms (301.8 KiB/s) 3: rockchip-6.10 Retrieving file: /Image-6.10 24766472 bytes read in 153 ms (154.4 MiB/s) append: dev/mmcblk0p3 earlyprintk console=ttyFIQ0 console=tty1 consoleblank=0 loglevel=7 rootwait rw rootfstype=ext4 cgroup_enable=cpuset cgroup_memory =1 cgroup_enable=memory swapaccount=1 switolb=1 coherent_pool=1m Retrieving file: /rk3568-lubancat-2.dtb 60473 bytes read in 3 ms (19.2 MiB/s) Fdt Ramdisk skip relocation No misc partition Booting using the fdt blob at 0x0a100000 Using Device Tree in place at 000000000a100000, end 000000000a111c38 can't found rockchip,drm-logo, use rockchip,fb-logo WARNING: could not set reg FDT_ERR_BADOFFSET. failed to reserve fb-loader-logo memory WARNING: could not set reg FDT_ERR_BADOFFSET. Adding bank: 0x00200000 - 0x08400000 (size: 0x08200000) Adding bank: 0x09400000 - 0xf0000000 (size: 0xe6c00000) Adding bank: 0x1f0000000 - 0x200000000 (size: 0x10000000) Total: 494.4/538.906 ms Starting kernel ... I/TC: Secondary CPU 1 initializing I/TC: Secondary CPU 1 switching to normal world boot I/TC: Secondary CPU 2 initializing I/TC: Secondary CPU 2 switching to normal world boot I/TC: Secondary CPU 3 initializing I/TC: Secondary CPU 3 switching to normal world boot
然后就没有然后了…,看起来应该是earlycon不对,并且console也没起来,不然不应该什么输出都没有的。
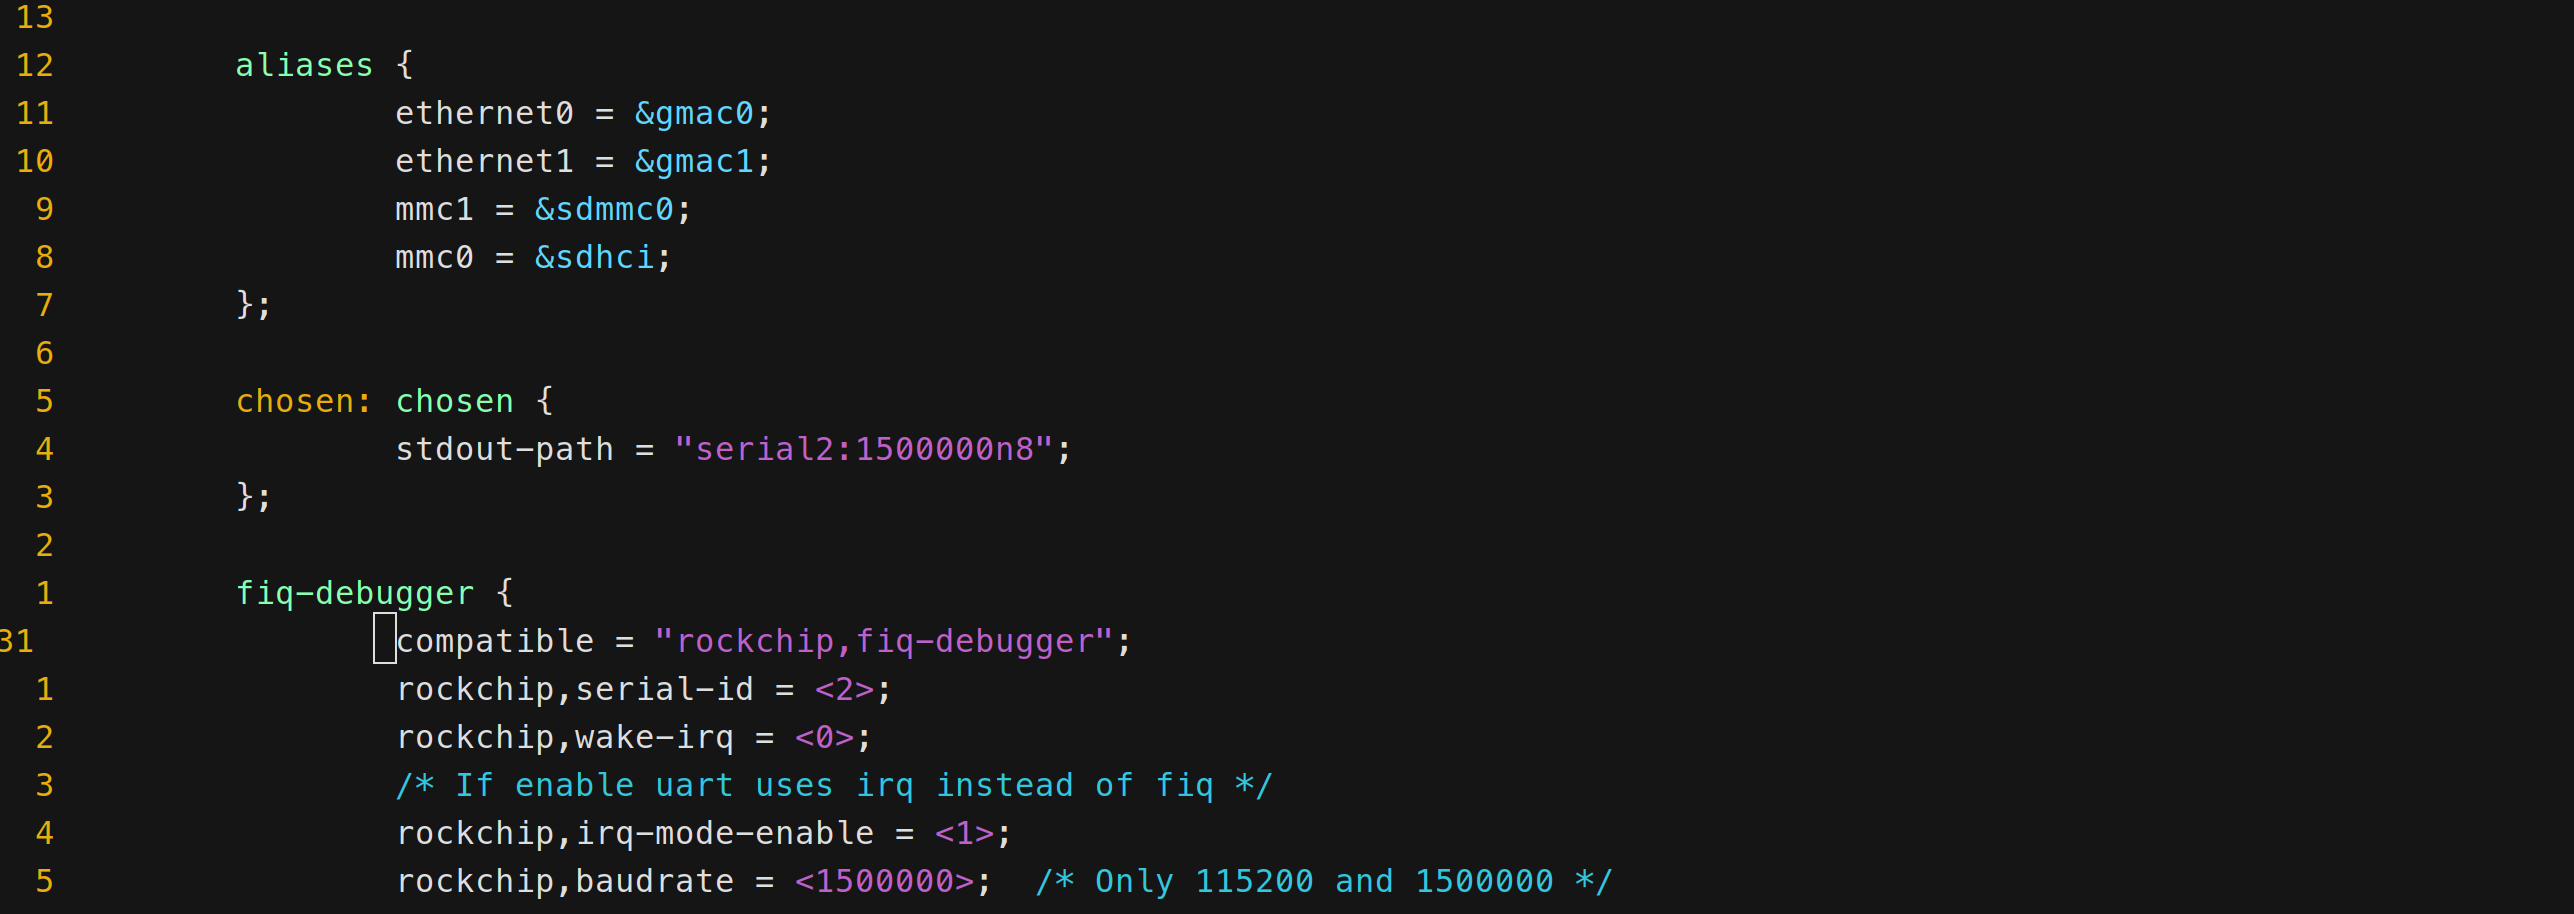
查看主线内核下的设备树文件发现chosen节点一穷二白:
参照鲁班猫的sdk的设备树可以发现earlycon被指定了一个uart8250:
参照鲁班猫的sdk的设备树编写extlinux.conf:
label rockchip-master
    kernel /Image-master
    fdt /rk3568-lubancat-2.dtb
    append root=dev/mmcblk0p3 earlycon=uart8250,mmio32,0xfe660000 console=ttyFIQ0 console=tty1 consoleblank=0 loglevel=7 rootwait rw rootfstype=ext4 cgroup_enable=cpuset cgroup_memory=1 cgroup_enable=memory swapaccount=1 switolb=1 coherent_pool=1m
重新制作镜像后烧写,发现确实在CPU switch之前就能看到log了,但是之后却没有。
[    0.000000] GICv3: MBI range [229:259]
[    0.000000] GICv3: MBI range [289:319]
[    0.000000] GICv3: Using MBI frame 0x00000000fd410000
[    0.000000] Root IRQ handler: gic_handle_irq
[    0.000000] GICv3: GICv3 features: 16 PPIs
[    0.000000] GICv3: GICD_CTRL.DS=0, SCR_EL3.FIQ=1
[    0.000000] GICv3: CPU0: found redistributor 0 region 0:0x00000000fd460000
[    0.000000] ITS: No ITS available, not enabling LPIs
[    0.000000] rcu: srcu_init: Setting srcu_struct sizes based on contention.
[    0.000000] arch_timer: cp15 timer(s) running at 24.00MHz (phys).
[    0.000000] clocksource: arch_sys_counter: mask: 0xffffffffffffff max_cycles: 0x588fe9dc0, max_idle_ns: 440795202592 ns
[    0.000001] sched_clock: 56 bits at 24MHz, resolution 41ns, wraps every 4398046511097ns
[    0.001817] Console: colour dummy device 80x25
[    0.002270] printk: legacy console [tty1] enabled
[    0.002741] printk: legacy bootconsole [uart8250] disabled
I/TC: Secondary CPU 1 initializing
I/TC: Secondary CPU 1 switching to normal world boot
I/TC: Secondary CPU 2 initializing
I/TC: Secondary CPU 2 switching to normal world boot
I/TC: Secondary CPU 3 initializing
I/TC: Secondary CPU 3 switching to normal world boot
在extlinux.conf文件中定义了这么一句话console=ttyFIQ0,并且在鲁班猫sdk里面能够看到该节点并且有对应的驱动:
❯ cat arch /arm64/boot/dts/rockchip/rk3568-lubancat-2.dtsi | grep fiq-debug fiq-debugger { compatible = "rockchip,fiq-debugger" ; ❯ find -name "*.c" -exec grep -n "rockchip,fiq-debugger" {} + ./drivers/soc/rockchip/rk_fiq_debugger.c:894: { .compatible = "rockchip,fiq-debugger" , },
在主线内核的设备树和驱动里面都是没有这g些东西的,所以直接将ttyFIQ0改成ttyS2,1500000就行了,不走这个驱动了。
这两个硬件上是一个东西,更改后的conf文件如下:
label rockchip-master
    kernel /Image-master
    fdt /rk3568-lubancat-2.dtb
    append root=dev/mmcblk0p3 earlycon=uart8250,mmio32,0xfe660000 console=ttyS2,1500000 consoleblank=0 loglevel=7 rootwait rw rootfstype=ext4 cgroup_enable=cpuset cgroup_memory=1 cgroup_enable=memory swapaccount=1 switolb=1 coherent_pool=1m
重新打包镜像并烧写,可以发现log全部都有了但是无法进入系统:
[    0.998974] mmcblk1rpmb: mmc1:0001 SC6311 4.00 MiB, chardev (239:0)
[   10.939202] platform fe2b0000.mmc: deferred probe pending: platform: wait for supplier /i2c@fdd40000/pmic@20/regulators/LDO_REG5
[   10.940228] platform fe720000.saradc: deferred probe pending: platform: wait for supplier /i2c@fdd40000/pmic@20/regulators/LDO_REG7
[   10.941259] platform hdmi-sound: deferred probe pending: asoc-simple-card: parse error
[   10.941969] platform fdc20000.syscon:io-domains: deferred probe pending: platform: wait for supplier /i2c@fdd40000/pmic@20/regulators/SWITCH_REG1
[   10.943105] platform fe0a0000.hdmi: deferred probe pending: platform: wait for supplier /i2c@fdd40000/pmic@20/regulators/LDO_REG9
看起来是regulator的问题,查询设备树中pmic节点芯片对应的是rk809:
&i2c0 { status = "okay" ; ... rk809: pmic@20 { compatible = "rockchip,rk809" ; reg = <0x20>; interrupt-parent = <&gpio0>; interrupts = <RK_PA3 IRQ_TYPE_LEVEL_LOW>; assigned-clocks = <&cru I2S1_MCLKOUT_TX>; ...
该设备是一个i2c设备,查找该设备对应的驱动:
❯ find -name "*.c" -exec grep -n "rockchip,rk809" {} + ./drivers/mfd/rk8xx-i2c.c:230: { .compatible = "rockchip,rk809" , .data = &rk809_data }, ❯ cat ./drivers/mfd/Makefile | grep rk8xx obj-$(CONFIG_MFD_RK8XX) += rk8xx-core.o obj-$(CONFIG_MFD_RK8XX_I2C) += rk8xx-i2c.o obj-$(CONFIG_MFD_RK8XX_SPI) += rk8xx-spi.o
所以我们需要打开CONFIG_MFD_RK8XX和CONFIG_MFD_RK8XX_I2C这两个驱动配置。
烧录到开发板中发现依旧卡死,但是log发生了变化:
[    1.015937] dwmmc_rockchip fe2b0000.mmc: Version ID is 270a
[    1.016498] dwmmc_rockchip fe2b0000.mmc: DW MMC controller at irq 73,32 bit host data width,256 deep fifo
[   11.158200] platform fe720000.saradc: deferred probe pending: rockchip-saradc: failed to get regulator
[   11.159081] platform hdmi-sound: deferred probe pending: asoc-simple-card: parse error
[   11.159808] platform fdc20000.syscon:io-domains: deferred probe pending: (reason unknown)
[   11.159863] dwmmc_rockchip fe2b0000.mmc: IDMAC supports 32-bit address mode.
[   11.160624] platform fe0a0000.hdmi: deferred probe pending: (reason unknown)
[   11.161303] dwmmc_rockchip fe2b0000.mmc: Using internal DMA controller.
[   11.162464] dwmmc_rockchip fe2b0000.mmc: Version ID is 270a
[   11.163053] dwmmc_rockchip fe2b0000.mmc: DW MMC controller at irq 73,32 bit host data width,256 deep fifo
根据多年卡死经验直接判断是根文件系统无法挂载,但是换回之前鲁班猫的内核就又好了,说明不是文件系统的原因。
进入uboot查看emmc:
=> mmc list
dwmmc@fe2b0000: 1
dwmmc@fe2c0000: 2
sdhci@fe310000: 0 (eMMC)
=> mmc info
Device: sdhci@fe310000
Manufacturer ID: ea
OEM: 2d00
Name: SC631
Timing Interface: HS200
Tran Speed: 200000000
Rd Block Len: 512
MMC version 5.1
High Capacity: Yes
Capacity: 29.1 GiB
Bus Width: 8-bit
Erase Group Size: 512 KiB
HC WP Group Size: 8 MiB
User Capacity: 29.1 GiB WRREL
Boot Capacity: 4 MiB ENH
RPMB Capacity: 4 MiB ENH
可以看到emmc走的是sdhci,查看设备树发现aliases居然把sdhci搞成了mmc1:
aliases {
	ethernet0 = &gmac0;
	ethernet1 = &gmac1;
	mmc0 = &sdmmc0;
	mmc1 = &sdhci;
};
调换sdhci和sdmmc0的顺序:
aliases {
	ethernet0 = &gmac0;
	ethernet1 = &gmac1;
	mmc1 = &sdmmc0;
	mmc0 = &sdhci;
};
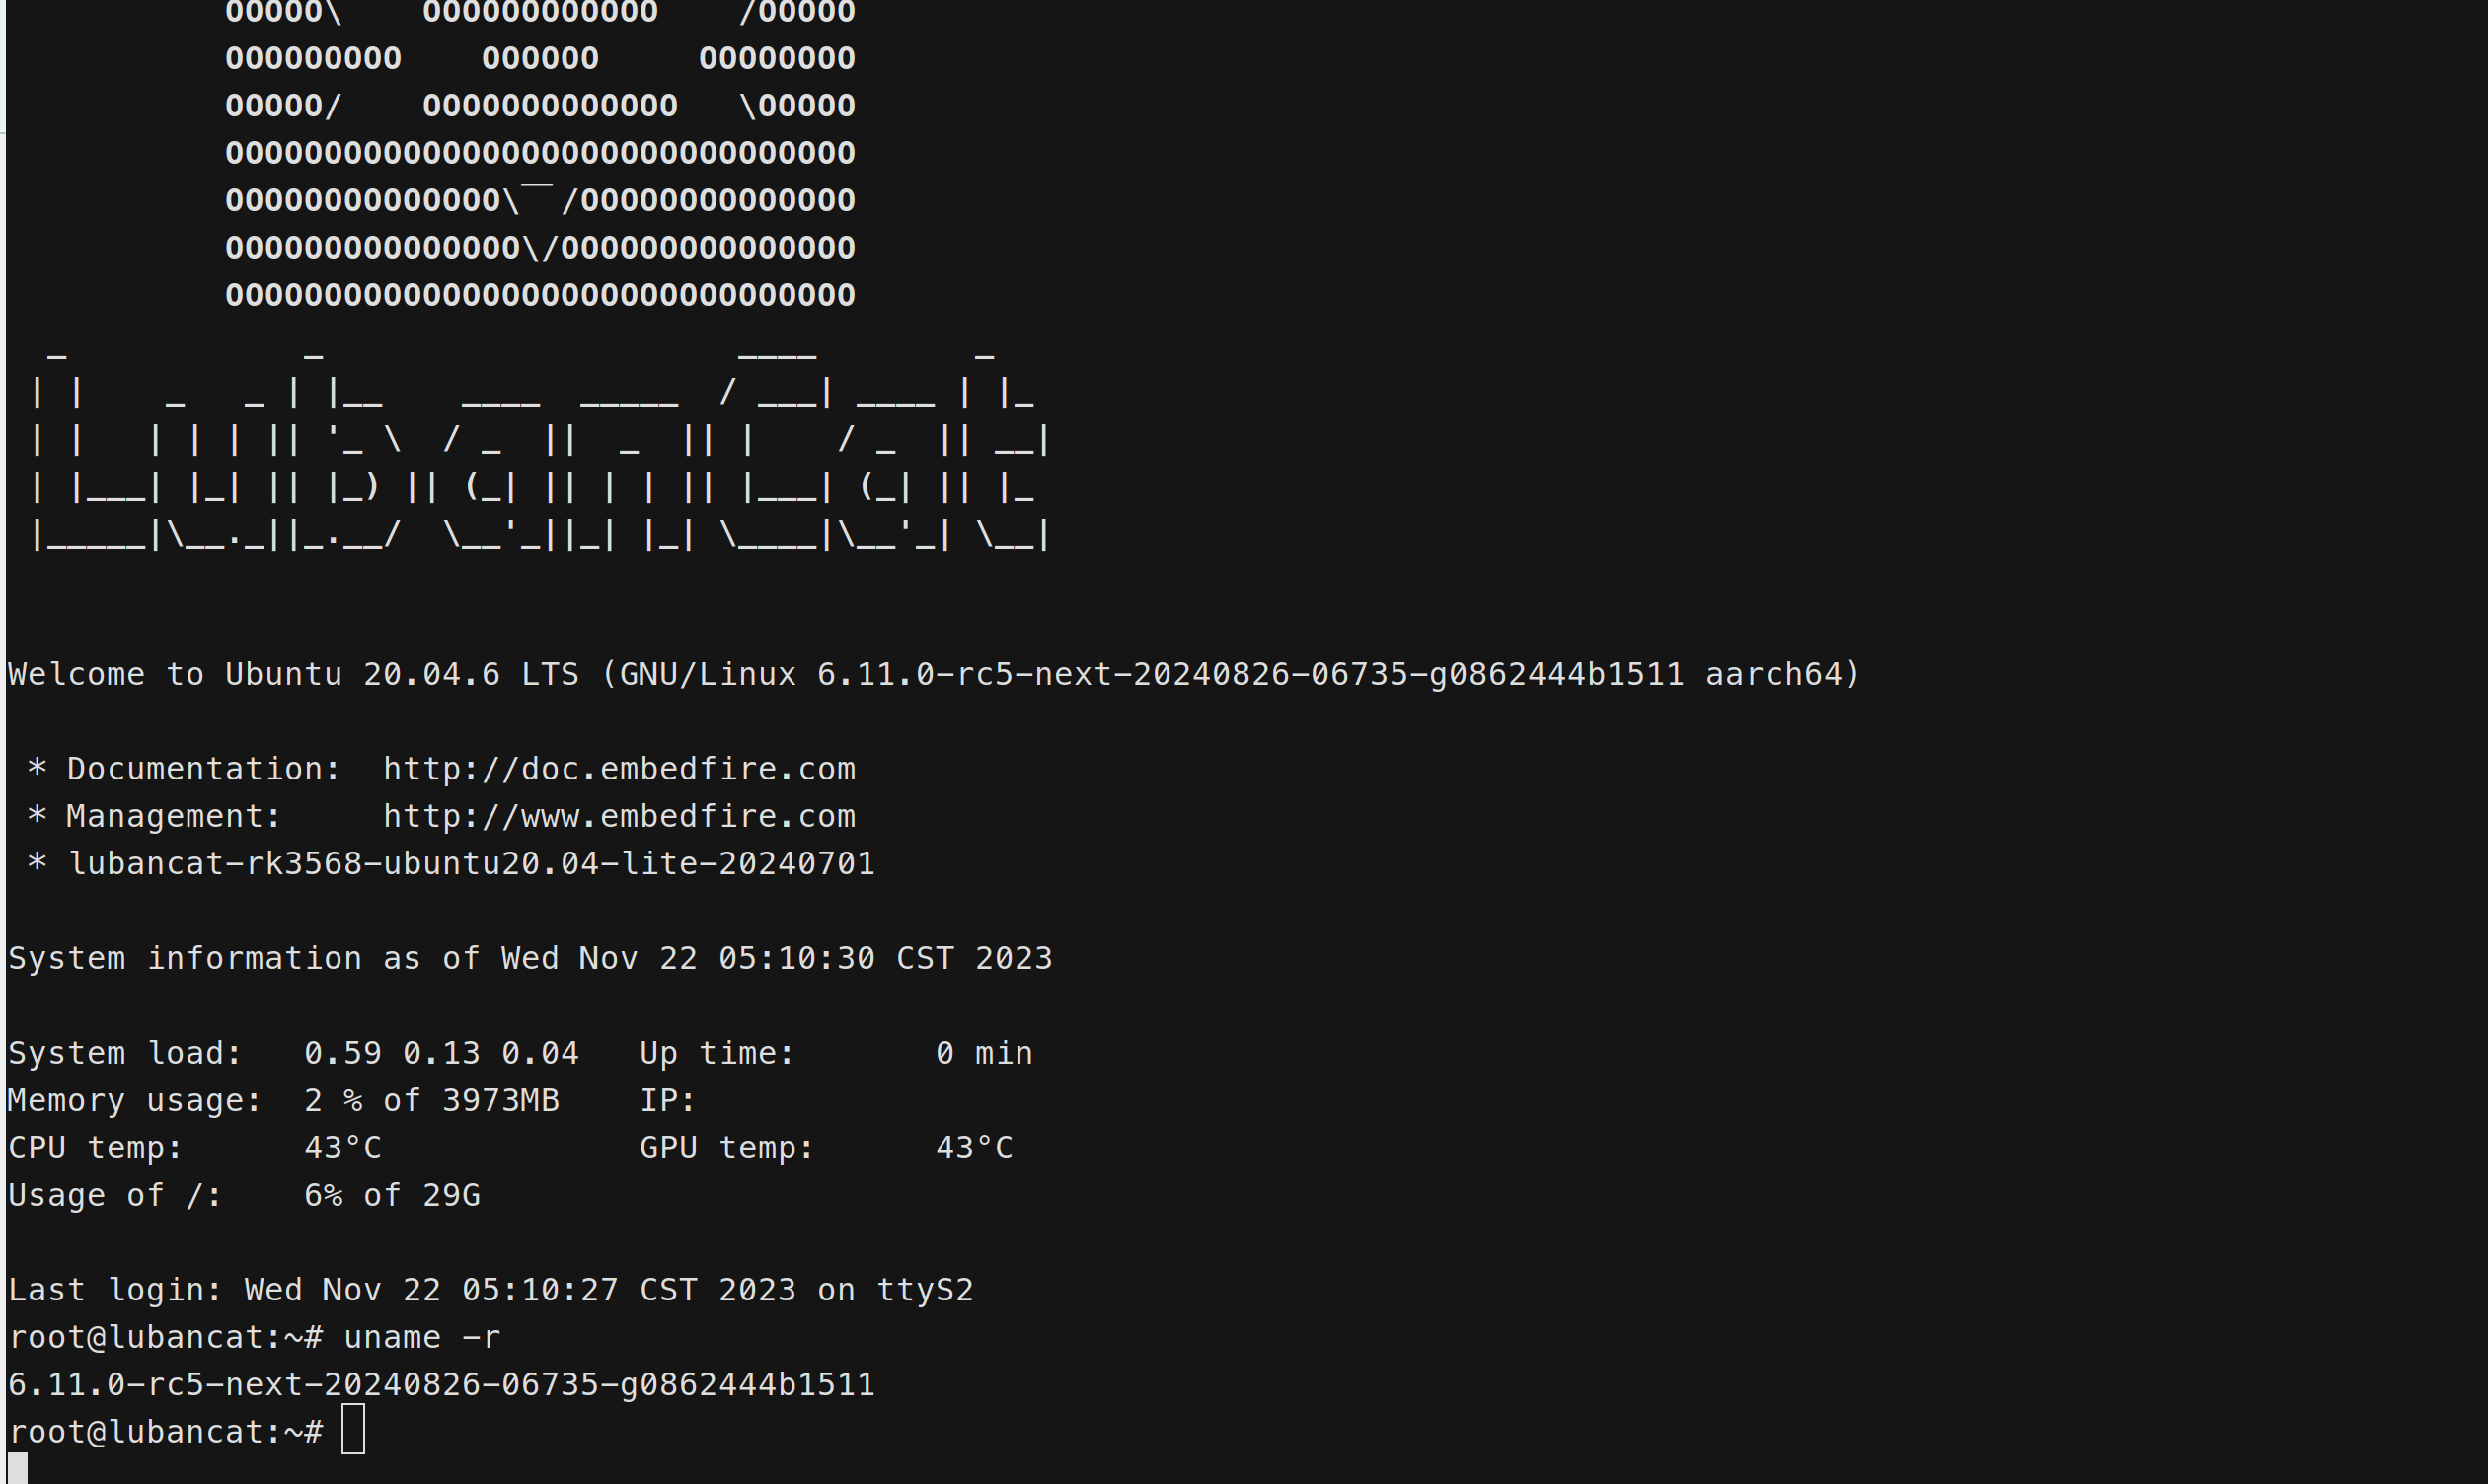
此时成功进入系统:


